A post outlining the meaning of the terms CMYK and RGB, in support of a variety of posts here on the use of digital processes in support of analogue.
CMYK and RGB are terms used in design and printing. CMYK is used for physical printing, while RGB is used for digital displays.
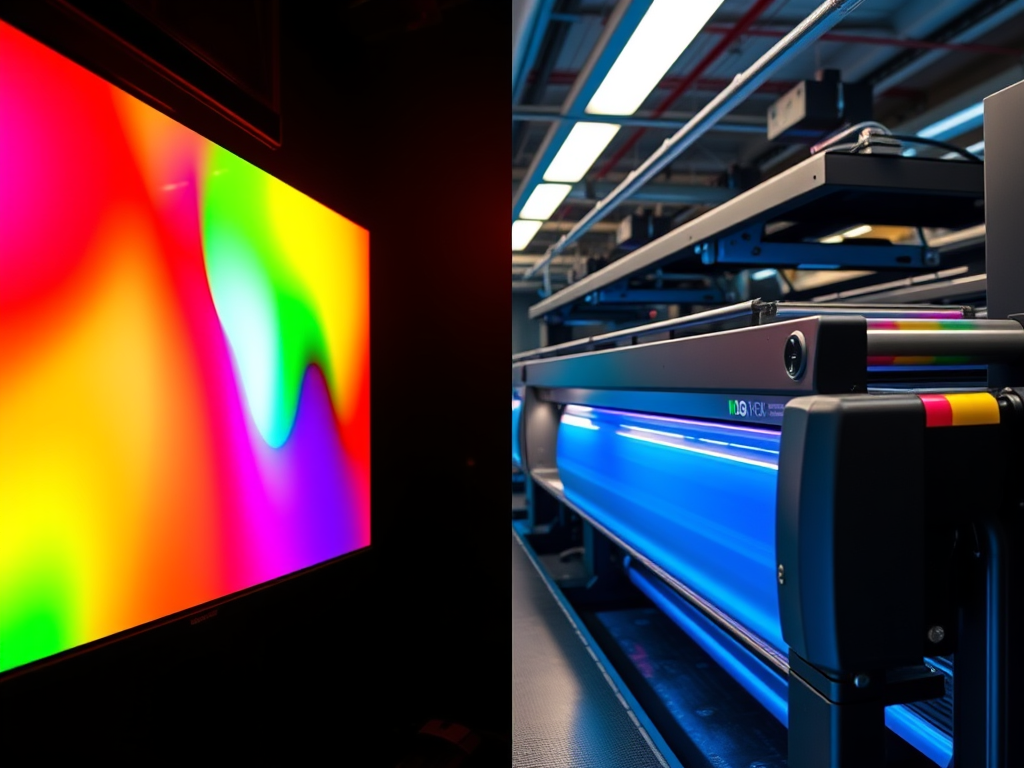
RGB: Red, Green, Blue
RGB is an additive colour model used for digital displays. It combines red, green, and blue light to create a wide spectrum of colours, by adding the lights together. Each channel (R, G, B) ranges in intensity from 0 to 255, allowing over 16 million colour combinations. When all three colours are at full intensity, the resultant colour is white. With zero intensity, the result is, as you would expect, black. This is used for the screens you use every day, whether computer monitors, TVs, smartphones, tablets or cameras and, the content you view on those screens.
CMYK: Cyan, Magenta, Yellow, Key (Black)
CMYK is a subtractive colour model used in printing. It blends physical inks to reproduce colours on paper and other materials. When all three colours are mixed together, you get black, although not the deepest blacks. Other colours are created by subtracting light using ink pigments. That means when you see a given colour on a page, it is because only that colour is reflected into your eye. There are other factors of course, like time of day, weather etc, which affect how ‘white’ the white light hitting the page really is. (Known as colour temperature, hence the concept of warm and cool colours.
More ink on the page gives darker colours, less ink leads to lighter colours. Black is added to enable the very deepest blacks. CMY alone can’t produce these, which is why you will come across ‘warm’ blacks and ‘cool’ blacks.
CMYK is used for any image or design intended for physical reproduction. Trying to create an image by printing with RGB colours is likely to result in dull or inaccurate prints.