This isn’t the post I intended for today, which I’m still writing. Instead, here is a YouTube video about a wonderful artist book I came across only this week. It is by Pepe Gimeno and is described as “a book about writing without a single word.” Watch the video, and you will see how apt that description is.
Month: August 2021
Using your gel prints as a resource for digital printmaking
I haven’t finished cutting the stencils from the previous post, so I’ve been playing with combining the files digitally. The results were quite interesting in themselves, but also triggered some ideas about combining these stencils with dry points also made from digitally cut plates. I will be parking those for now, but it is definitely something I want to explore at a later date. In this post, I want to concentrate on using these separation files in digital printmaking.
As I said in my previous post, Paint Shop Pro (PSP) can create colour separation files, but these are too ‘busy’ to use directly for cutting. Once cleaned up and simplified, the new files can be recombined in the same fashion as the originals. This is the start point for this post. I’m using images made by gel printing, but you can of course use any digital image, including photographs.
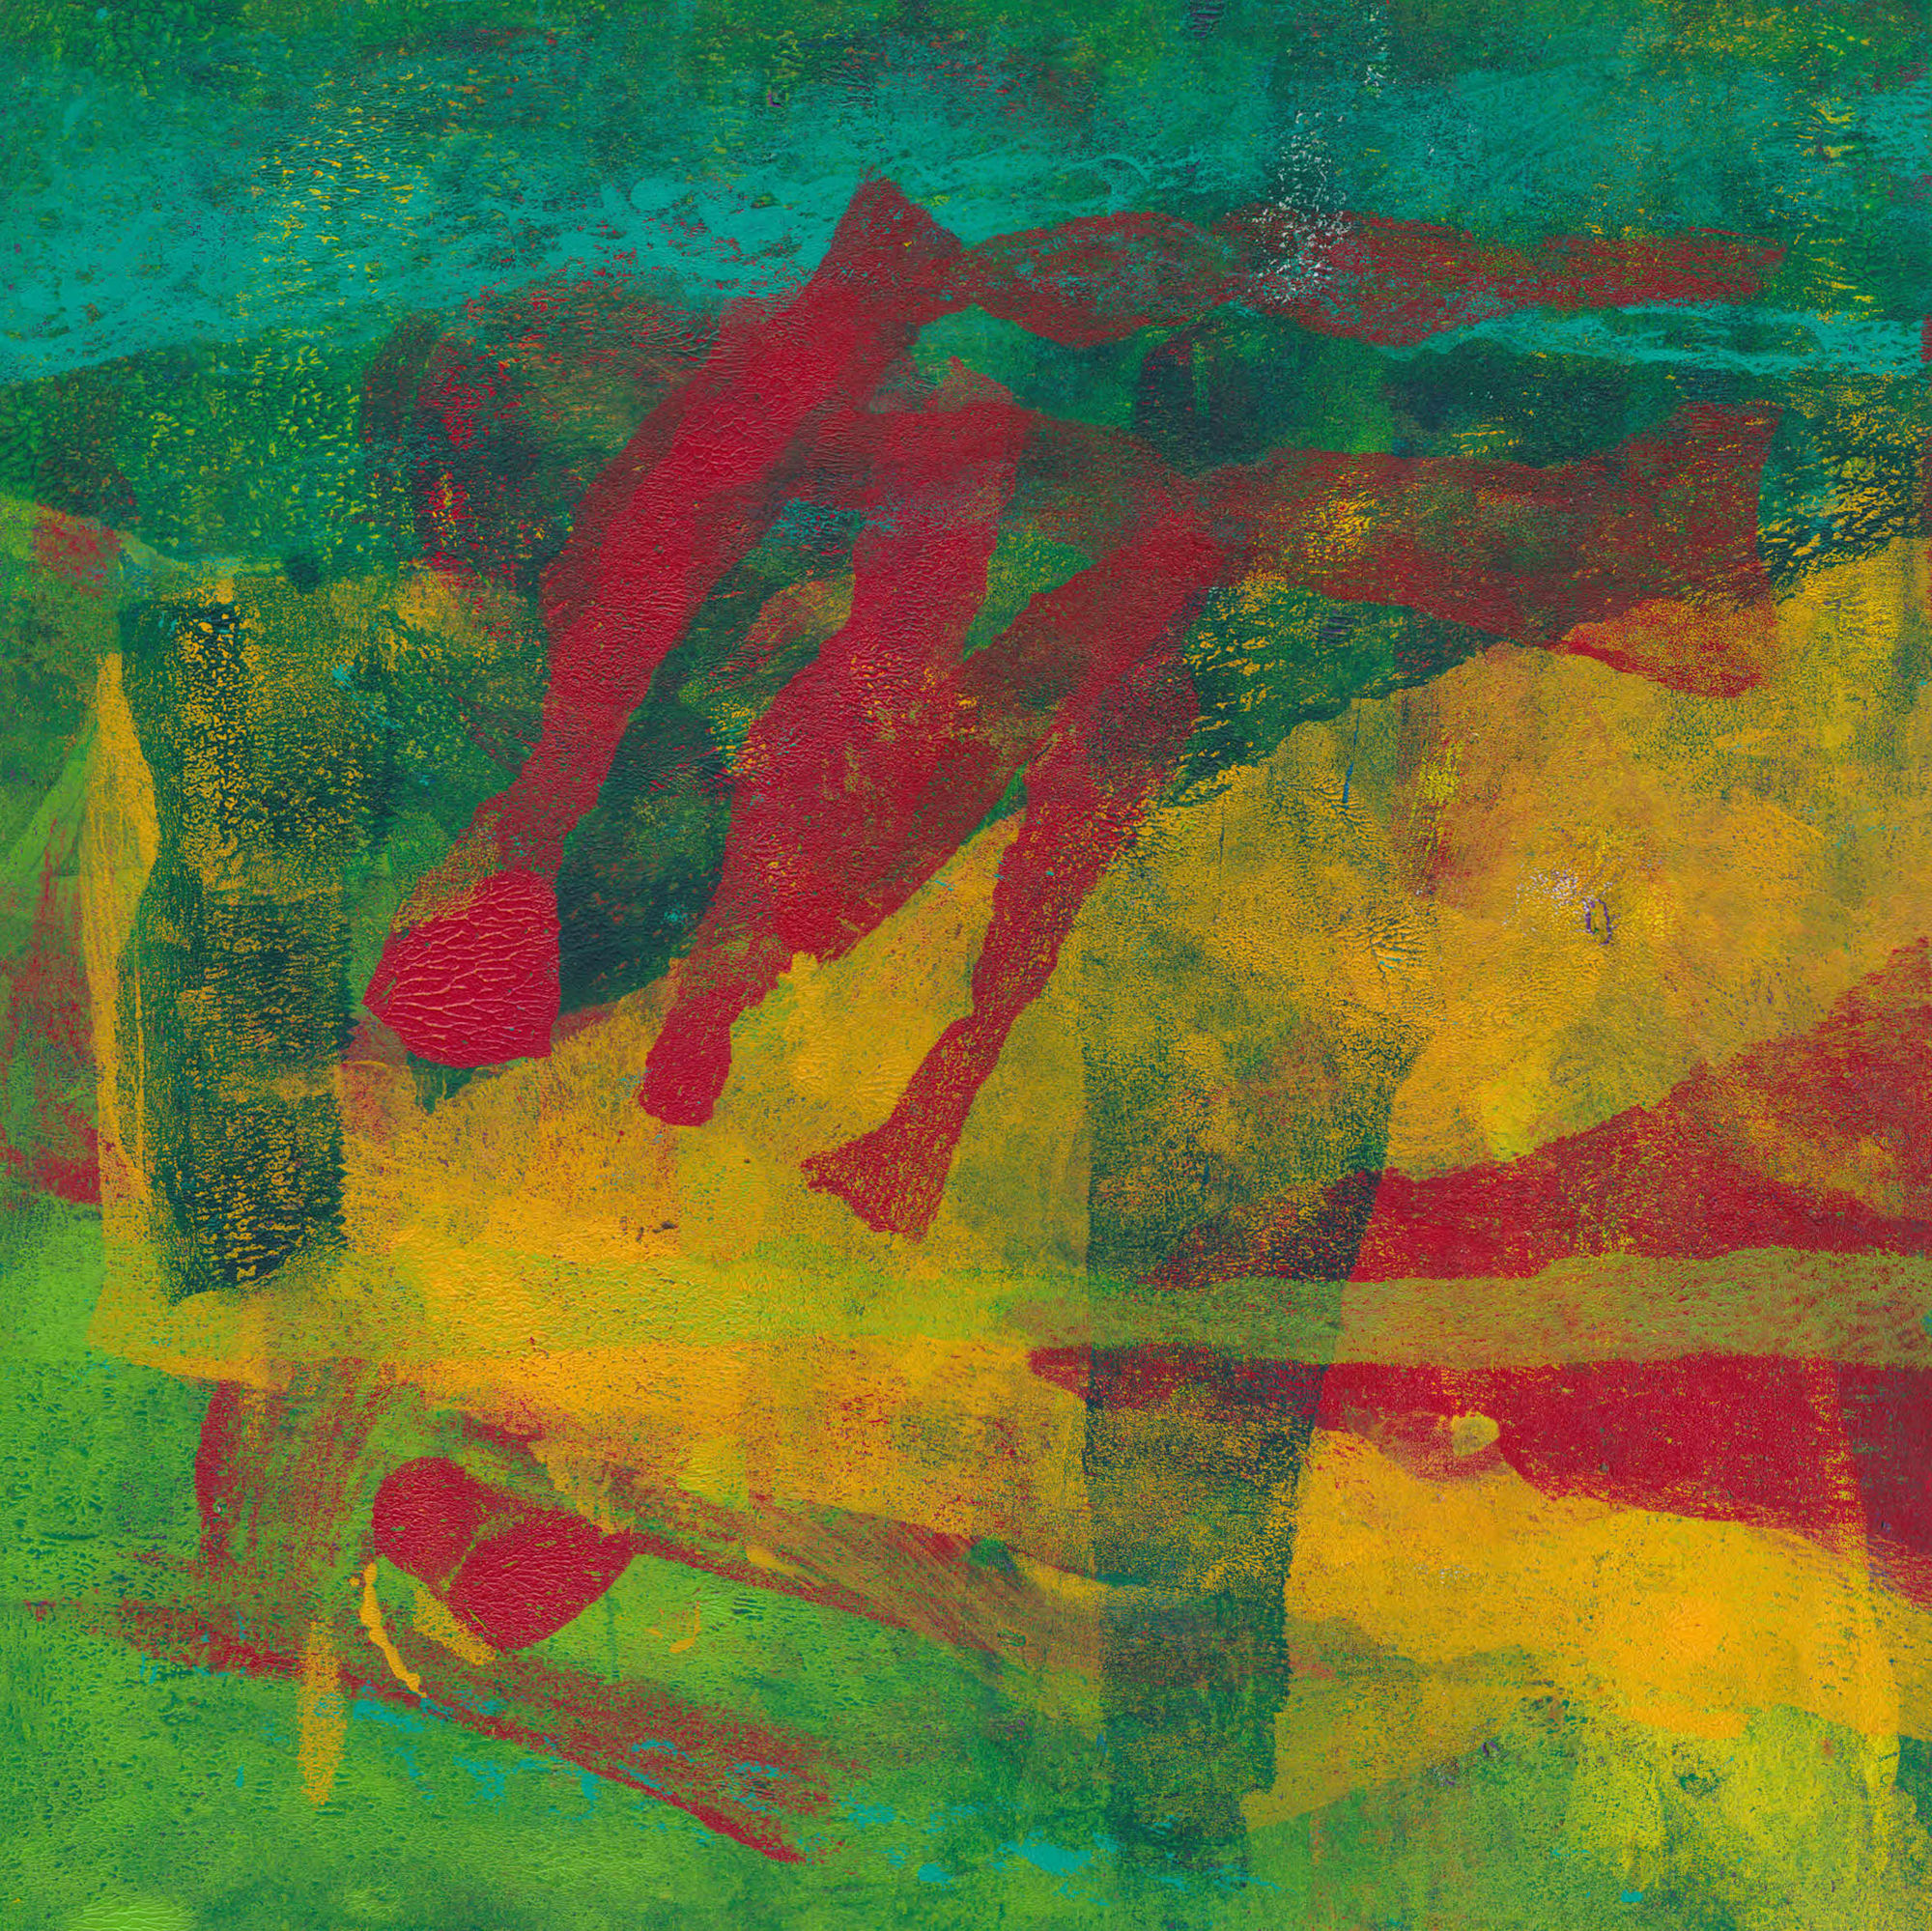
This is “Waterloo Sunrise”. Like those in my previous post, it is a monotype made with acrylic on paper. You can buy it here.

Grey scale images
These are the grey scale images from the Cyan, Magenta, Yellow and blacK channels.


It is worth noting here that PSP can also make RGB separations, i.e. Red, Green, Blue, which can be cleaned up and simplified in the same way. This is what you get from those separations.


Creating combinations
These greyscale separation files can be used in various ways to extend your digital printmaking and allow you to try out ‘digital proofs’ before you start on the physical print. I’ve provided numerous examples below.
Here for example is the image made using the simplified CMYK files.

Here is the image made from the simplified RGB files

Mixing things up
But what happens when you swap the Cyan file out for the Green?

Or replace the Magenta with Red?

Or indeed Blue with Magenta

You don’t have to use the simplified files. The original separations can be recombined in this way too. It is off-topic for this post, but try doing this with photographs. The effect ranges from slightly ‘off’ to wildly surreal.
Other effects are possible if the colours are juggled around as say YCKM or KCMY.


You can of course combine the different separations and juggle them.

It is possible to use the same file more than once

The duplicated file can also be rotated (if square) or flipped/mirrored otherwise. In this one, Cyan is mirrored horizontally, with this version replacing Yellow. You can see that the green bar – a mixture of cyan and yellow on screen, is now shown as the two separate colours with a tiny slice of green where they overlap.

Taking it further
By now, it should be obvious that the original content is irrelevant. We are using these files simply as abstract shapes. With the seven possible files from the original image, you have over 800 possible combination if you treat them as CMYK. (That’s 7x6x5x combinations.) It would be many more if you allow the same file to be used more than once. Throw in a second image and the number of permutations mushrooms to over 24000! (14x13x12x11)
There are obviously a lot of choices available, although as you try them out you will start to get a feel for what is likely to work best for you. While It is almost miraculous how colours appear as if from nowhere, the prosaic explanation is simply that whatever file is used in, for example the ‘C’ location, the computer thinks it represents Cyan and treats it accordingly when the file is displayed.
EDIT: Since I wrote this, we’ve seen the rise of AI art, which raises all sort of questions about originality, but also offers yet another way to edit and modify scanned gel prints, by for example taking them into the AI app, then exporting again to combine digitally with other image, to split into channels for silk screen printing or Risograph printing. I’m still mentally processing this, but you can read the first of a series of posts on AI and AI art here. The others in the series are linked from there.
‘Real World’ parallels
There are ‘real world’ parallels. In the later years of their lives, both Bert Irvin and Wilhelmina Barns-Graham made large numbers of screen prints. Independently they both seemed to create a ‘library’ of screens from painted marks which were then combined in various ways to produce their prints.
Even if you never print any of these digital recombinations, the process I’ve described can be used as a kind of digital proofing, to get a sense of how shapes work together before you ever apply ink or paint to paper or canvas. If you want to try digital printmaking, this approach gives you a useful entry point. Give it a try. I would love to see what you come up with. If I get enough responses, I’ll put them together in a post.
Blog post schedule
I’m trying to set up a regular schedule of posts to the blog. I’m aiming to put up a substantive post every Friday. There may be short snippets at other times. The next post is already written and in the schedule for Friday morning.
Making stencils for gel printing with a digital cutter – part 1
This is the first of a planned series of posts about making stencils for gel printing using a digital cutter. In my case it is a Cricut Maker, but the principles are general.

Making colour separations
These stencils came out of some thoughts I had about making silk screen versions of my gel prints. I was hoping to use colour separations. This is the process by which original full-colour digital files are separated into individual colour components for four-colour process printing. Every element in the file is printed in a combination of four colours: cyan, magenta, yellow, and black. This is known as CMYK in the world of commercial printing and in silk screen printing. This isn’t an original idea, of course. Anyone familiar with Matisse will almost certainly be aware of his stunning cutouts, but may not be aware that they were also published in silk screen versions.
I began with a scan from one of my prints. I created the CMYK colour separations with Paint Shop Pro (from now on PSP). Unfortunately, I no longer have access to screen beds, so this is currently not an option. In practice, I don’t think I’m fit enough any more, to spend several hours pulling ink through the screens. However, having already used scans of pen drawings to make stencils, I decided to experiment with these separations. The print I’m using here is called ‘Area 52’, available from my shop.
The image below is an example of one of the colour separations. This is from the magenta colour channel. In this form, it clearly can’t be used directly to make a stencil suitable for gel printing.

Simplifying the file
To create a version that can be cut as a stencil, it needs to be much simplified. I did this using various tools in PSP, which led to this. (More details of the process by which I did this, will be in later posts. If you can’t wait though, get in touch and I’ll try to help.)

PSP allows me to digitally recombine these simplified images, which led in turn to this image. This is closer to what you would get with screen printing, but is useful to visualise the outcome.

Be flexible
However, just because a file is called magenta, doesn’t mean that it has to be used that way. PSP allows me to digitally recombine the image files in any order. With four files to combine, there are 24 possible combinations, so this one below is just one. It helps to make a point though. When the stencils are cut and used to make gel prints, you have complete freedom in the colour you use.

In the real, as opposed to the digital world, there are other variables. Varying the opacity of the paint used, and varying the order in which you use the stencil, will also give different results.
Finally, just as an experiment, here is a combination image using CYMK files from two different images. I’ve included it just to make the point that once you have the stencil you have complete freedom in their use.

In many ways, this last image is analogous to making a collagraph print from multiple plates. I have experimented with this many times in the past.