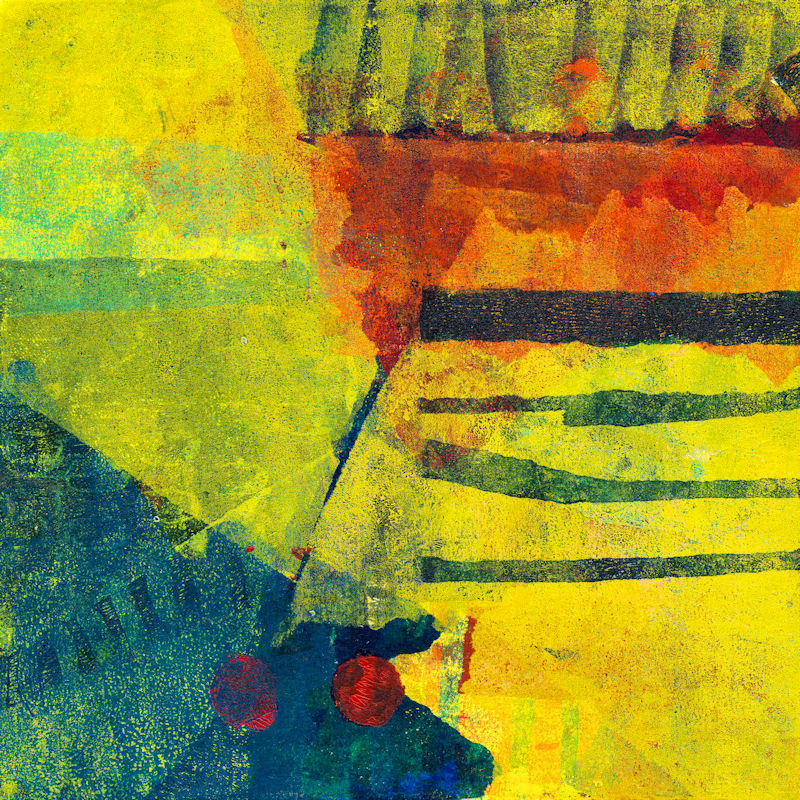
This is the first of a planned series of posts about making stencils for gel printing using a digital cutter. In my case it is a Cricut Maker, but the principles are general.
Making colour separations
These stencils came out of some thoughts I had about making silk screen versions of my gel prints. I was hoping to use colour separations. This is the process by which original full-colour digital files are separated into individual colour components for four-colour process printing. Every element in the file is printed in a combination of four colours: cyan, magenta, yellow, and black. This is known as CMYK in the world of commercial printing and in silk screen printing. This isn’t an original idea, of course. Anyone familiar with Matisse will almost certainly be aware of his stunning cutouts, but may not be aware that they were also published in silk screen versions.
I began with a scan from one of my prints. I created the CMYK colour separations with Paint Shop Pro (from now on PSP). Unfortunately, I no longer have access to screen beds, so this is currently not an option. In practice, I don’t think I’m fit enough any more, to spend several hours pulling ink through the screens. However, having already used scans of pen drawings to make stencils, I decided to experiment with these separations. The print I’m using here is called ‘Area 52’, available from my shop.
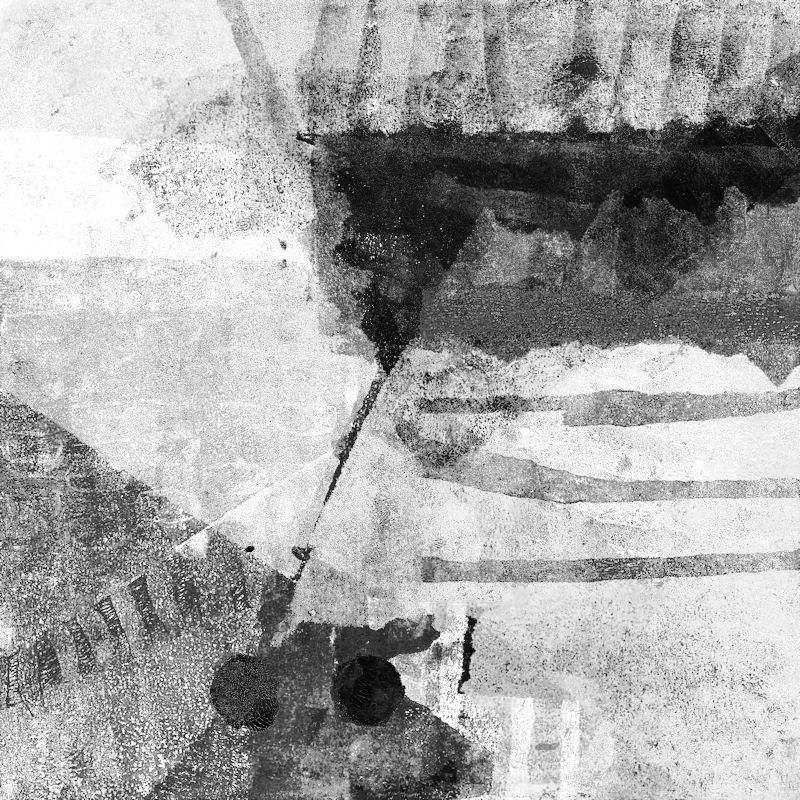
The image below is an example of one of the colour separations. This is from the magenta colour channel. In this form, it clearly can’t be used directly to make a stencil suitable for gel printing.
Simplifying the file
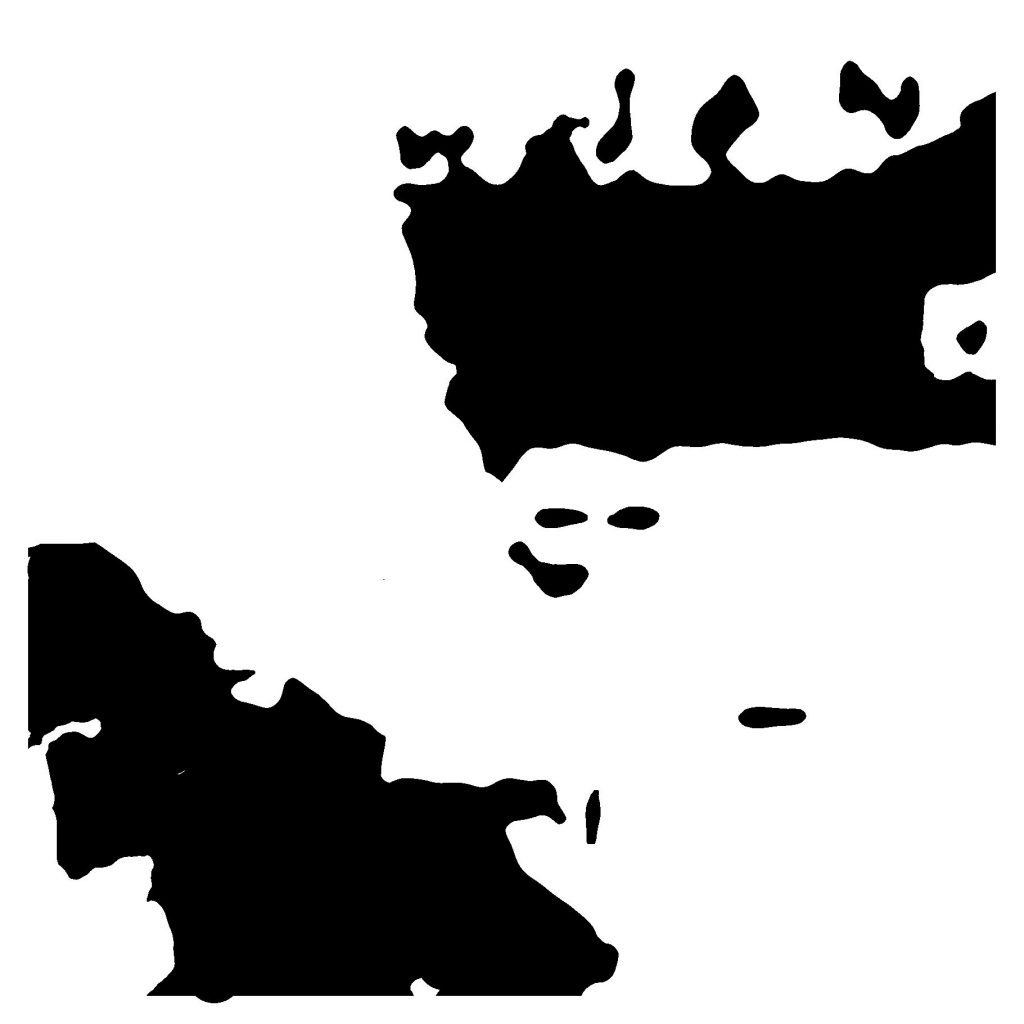
To create a version that can be cut as a stencil, it needs to be much simplified. I did this using various tools in PSP, which led to this. (More details of the process by which I did this, will be in later posts. If you can’t wait though, get in touch and I’ll try to help.)
PSP allows me to digitally recombine these simplified images, which led in turn to this image. This is closer to what you would get with screen printing, but is useful to visualise the outcome.

Be flexible
However, just because a file is called magenta, doesn’t mean that it has to be used that way. PSP allows me to digitally recombine the image files in any order. With four files to combine, there are 24 possible combinations, so this one below is just one. It helps to make a point though. When the stencils are cut and used to make gel prints, you have complete freedom in the colour you use.
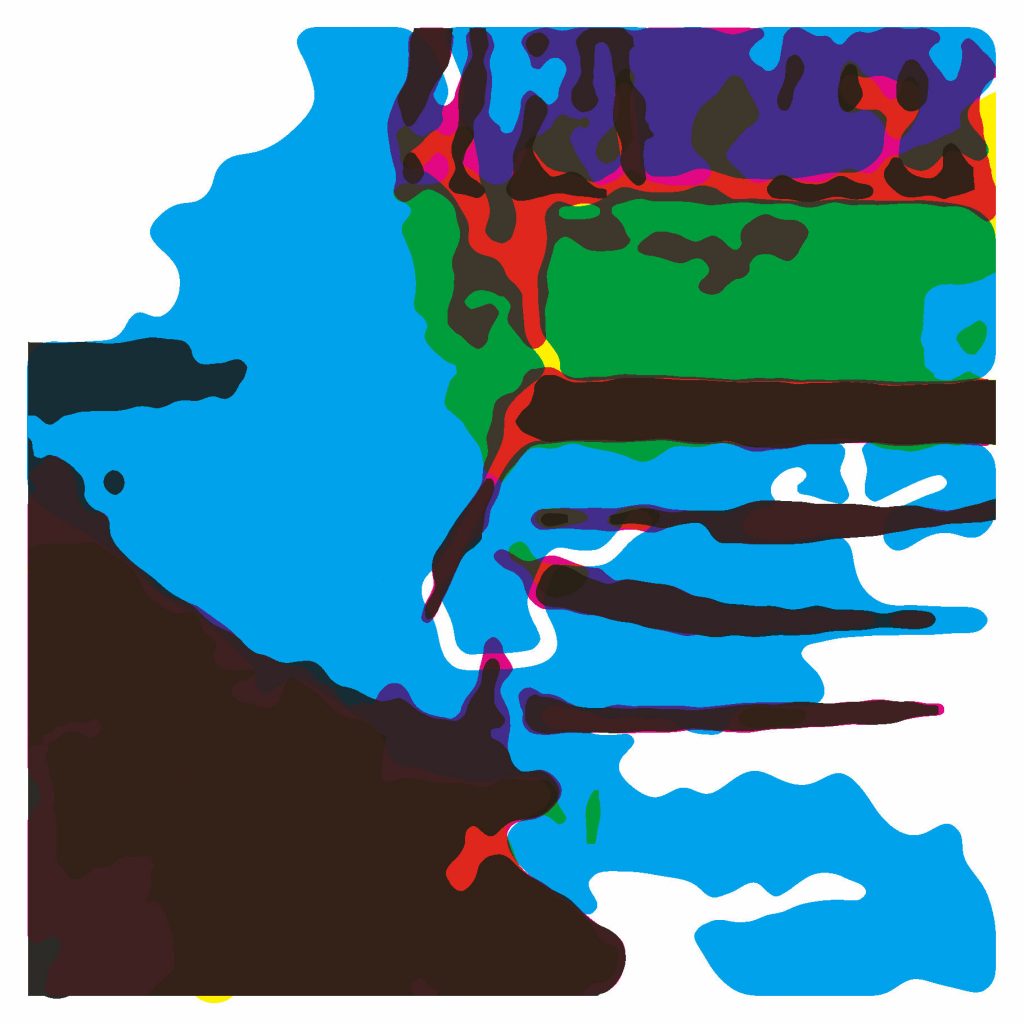
In the real, as opposed to the digital world, there are other variables. Varying the opacity of the paint used, and varying the order in which you use the stencil, will also give different results.
Finally, just as an experiment, here is a combination image using CYMK files from two different images. I’ve included it just to make the point that once you have the stencil you have complete freedom in their use.
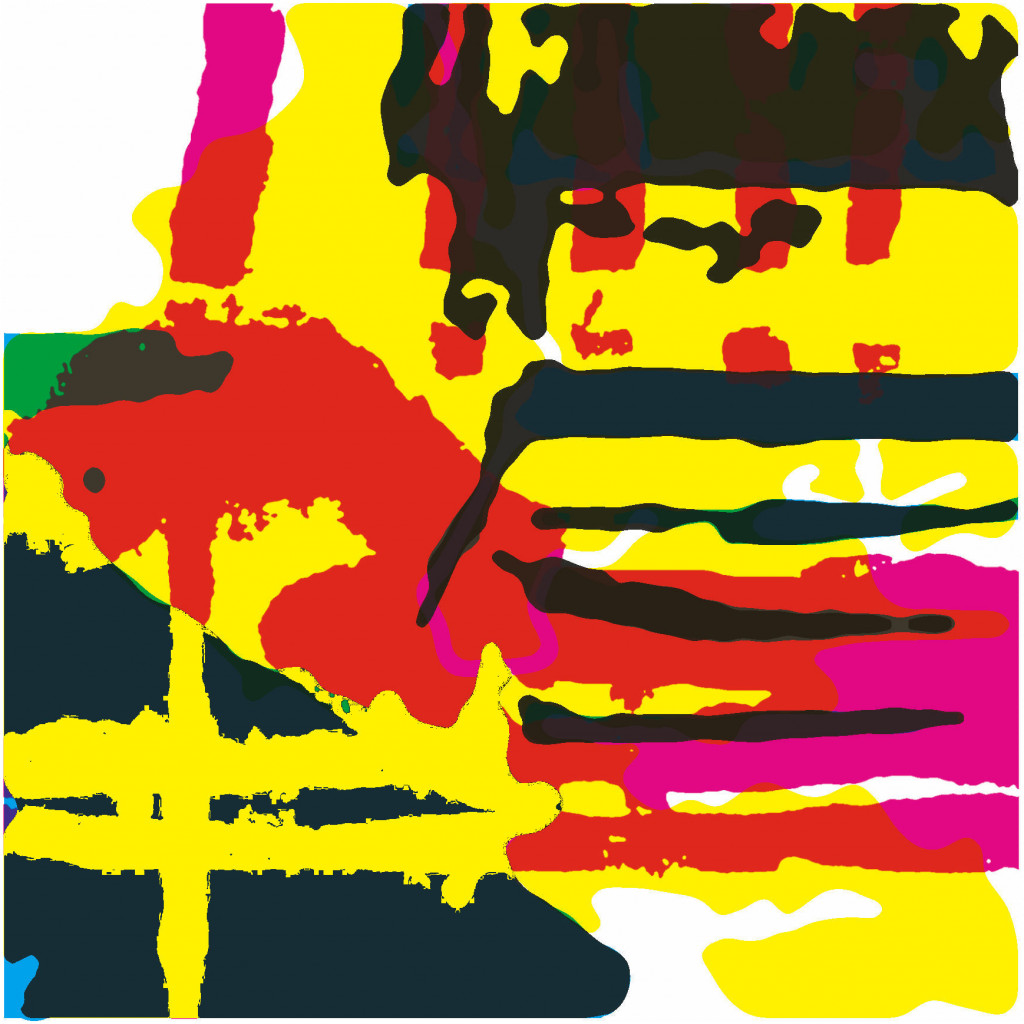
In many ways, this last image is analogous to making a collagraph print from multiple plates. I have experimented with this many times in the past.
