Posted on Leave a comment

CMYK and RGB

A post outlining the meaning of the terms CMYK and RGB, in support of a variety of posts here on the use of digital processes in support of analogue.

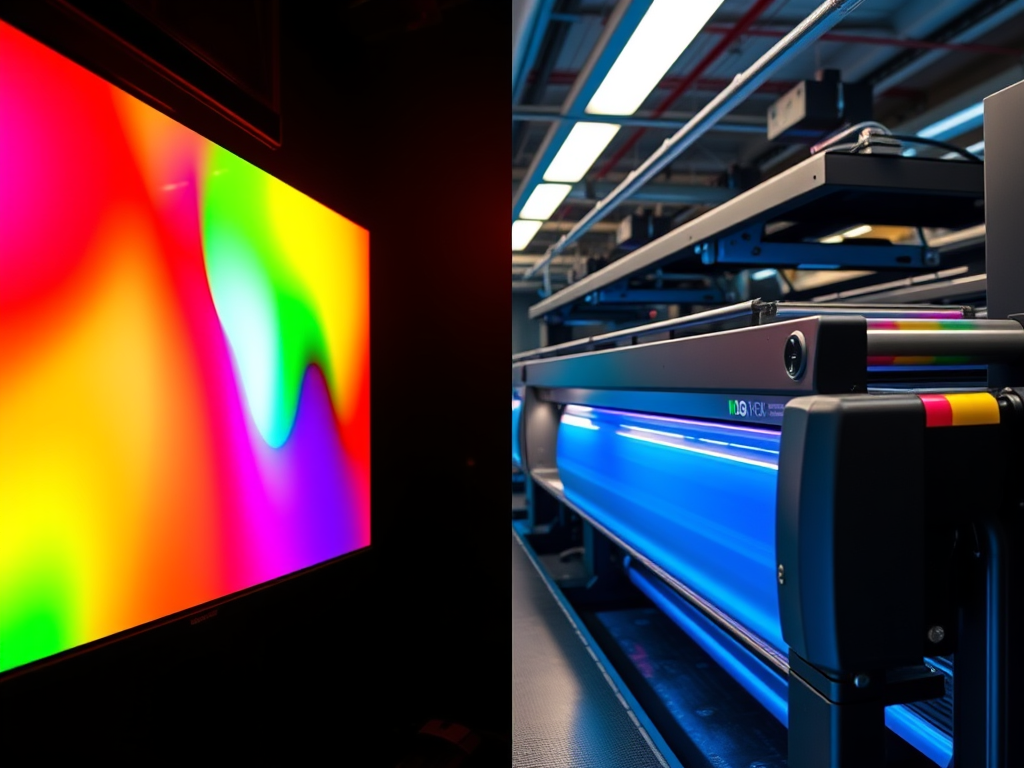
CMYK and RGB are terms used in design and printing. CMYK is used for physical printing, while RGB is used for digital displays.

RGB: Red, Green, Blue

RGB is an additive colour model used for digital displays. It combines red, green, and blue light to create a wide spectrum of colours, by adding the lights together. Each channel (R, G, B) ranges in intensity from 0 to 255, allowing over 16 million colour combinations. When all three colours are at full intensity, the resultant colour is white. With zero intensity, the result is, as you would expect, black. This is used for the screens you use every day, whether computer monitors, TVs, smartphones, tablets or cameras and, the content you view on those screens.

CMYK: Cyan, Magenta, Yellow, Key (Black)

CMYK is a subtractive colour model used in printing. It blends physical inks to reproduce colours on paper and other materials. When all three colours are mixed together, you get black, although not the deepest blacks. Other colours are created by subtracting light using ink pigments. That means when you see a given colour on a page, it is because only that colour is reflected into your eye. There are other factors of course, like time of day, weather etc, which affect how ‘white’ the white light hitting the page really is. (Known as colour temperature, hence the concept of warm and cool colours.

More ink on the page gives darker colours, less ink leads to lighter colours. Black is added to enable the very deepest blacks. CMY alone can’t produce these, which is why you will come across ‘warm’ blacks and ‘cool’ blacks.

CMYK is used for any image or design intended for physical reproduction. Trying to create an image by printing with RGB colours is likely to result in dull or inaccurate prints.
Posted on Leave a comment

Image Editing Software

A table of image editing software which supports both colour separation file creation and layer-based editing. Information in support of various posts on digital printmaking and the use of digital processes in support of analogue methods.

Software NameColour Separation SupportLayer SupportPlatform(s)Notes
Adobe PhotoshopYesYesWindows, macOSIndustry standard; supports CMYK separations and advanced layer tools. PS Elements has support for Layers but not colour separation.
Corel PaintShop ProYesYesWindowsOffers CMYK support and robust layer editing
Affinity PhotoYesYesWindows, macOS, iPadProfessional-grade editing with CMYK and spot colour support
GIMPPartial (via plugins)YesWindows, macOS, LinuxOpen-source; CMYK separation requires plugins like Separate+
Adobe IllustratorYesYesWindows, macOSVector-based; ideal for print and colour separations
KritaNoYesWindows, macOS, LinuxFocused on digital painting; lacks native CMYK support
PhotoLineYesYesWindows, macOSSupports CMYK and spot colours; lesser-known but powerful

This table of image editing software was collated using AI. I have experience with PaintShop Pro and with an early version of Affinity, but not the others. Use the information with care and double-check the availability of critical elements before any purchase.

Posted on Leave a comment

From Analogue to Digital to Analogue

Digital processes and techniques have always been a part of my practice as I move from analogue to digital and back to analogue.

Digital Prints

The transition from analogue to digital sometimes places these techniques well to the forefront, as in the digital images I was making when I started printmaking. These used photo-manipulation, filters and plugins, graphics tablets and digital collage to generate the image. Some examples are shown below.

Inky Fingers – Analogue

My first steps into traditional, ‘inky fingers’ printmaking were with collagraph and entirely analogue.

Dales Memories was selected for the Bath Society of Arts Open, while Sarsen Stones was in the Oexmann Open at Devizes Museum.

My one and only venture into screen print reintroduced digital elements. Several of the stencils I used to make the screens for this image were created by digital processes.

screen print called Tree of Life
Tree of life, screen print

At different times I also made monoprints, drypoint and collage

Mixing things up – analogue and digital

Around this time I began to have health issues which limited the time I could stand at the press. Screen printing especially was very stressful. Searching for something I could do seated, I eventually stumbled on gel printing.

At an early stage I began using digital processes to create stencils for gel printing, using a Cricut digital cutter. I began by using rough drawings in a process described in this post. Another post looked at ways to generate abstract shapes to be used as stencils.

Another bout of ill health kept me out of the studio entirely so I returned to digital printmaking. I began to explore ways to use my existing monotypes, not as images, but as data to create new digital prints. I described this process in here.

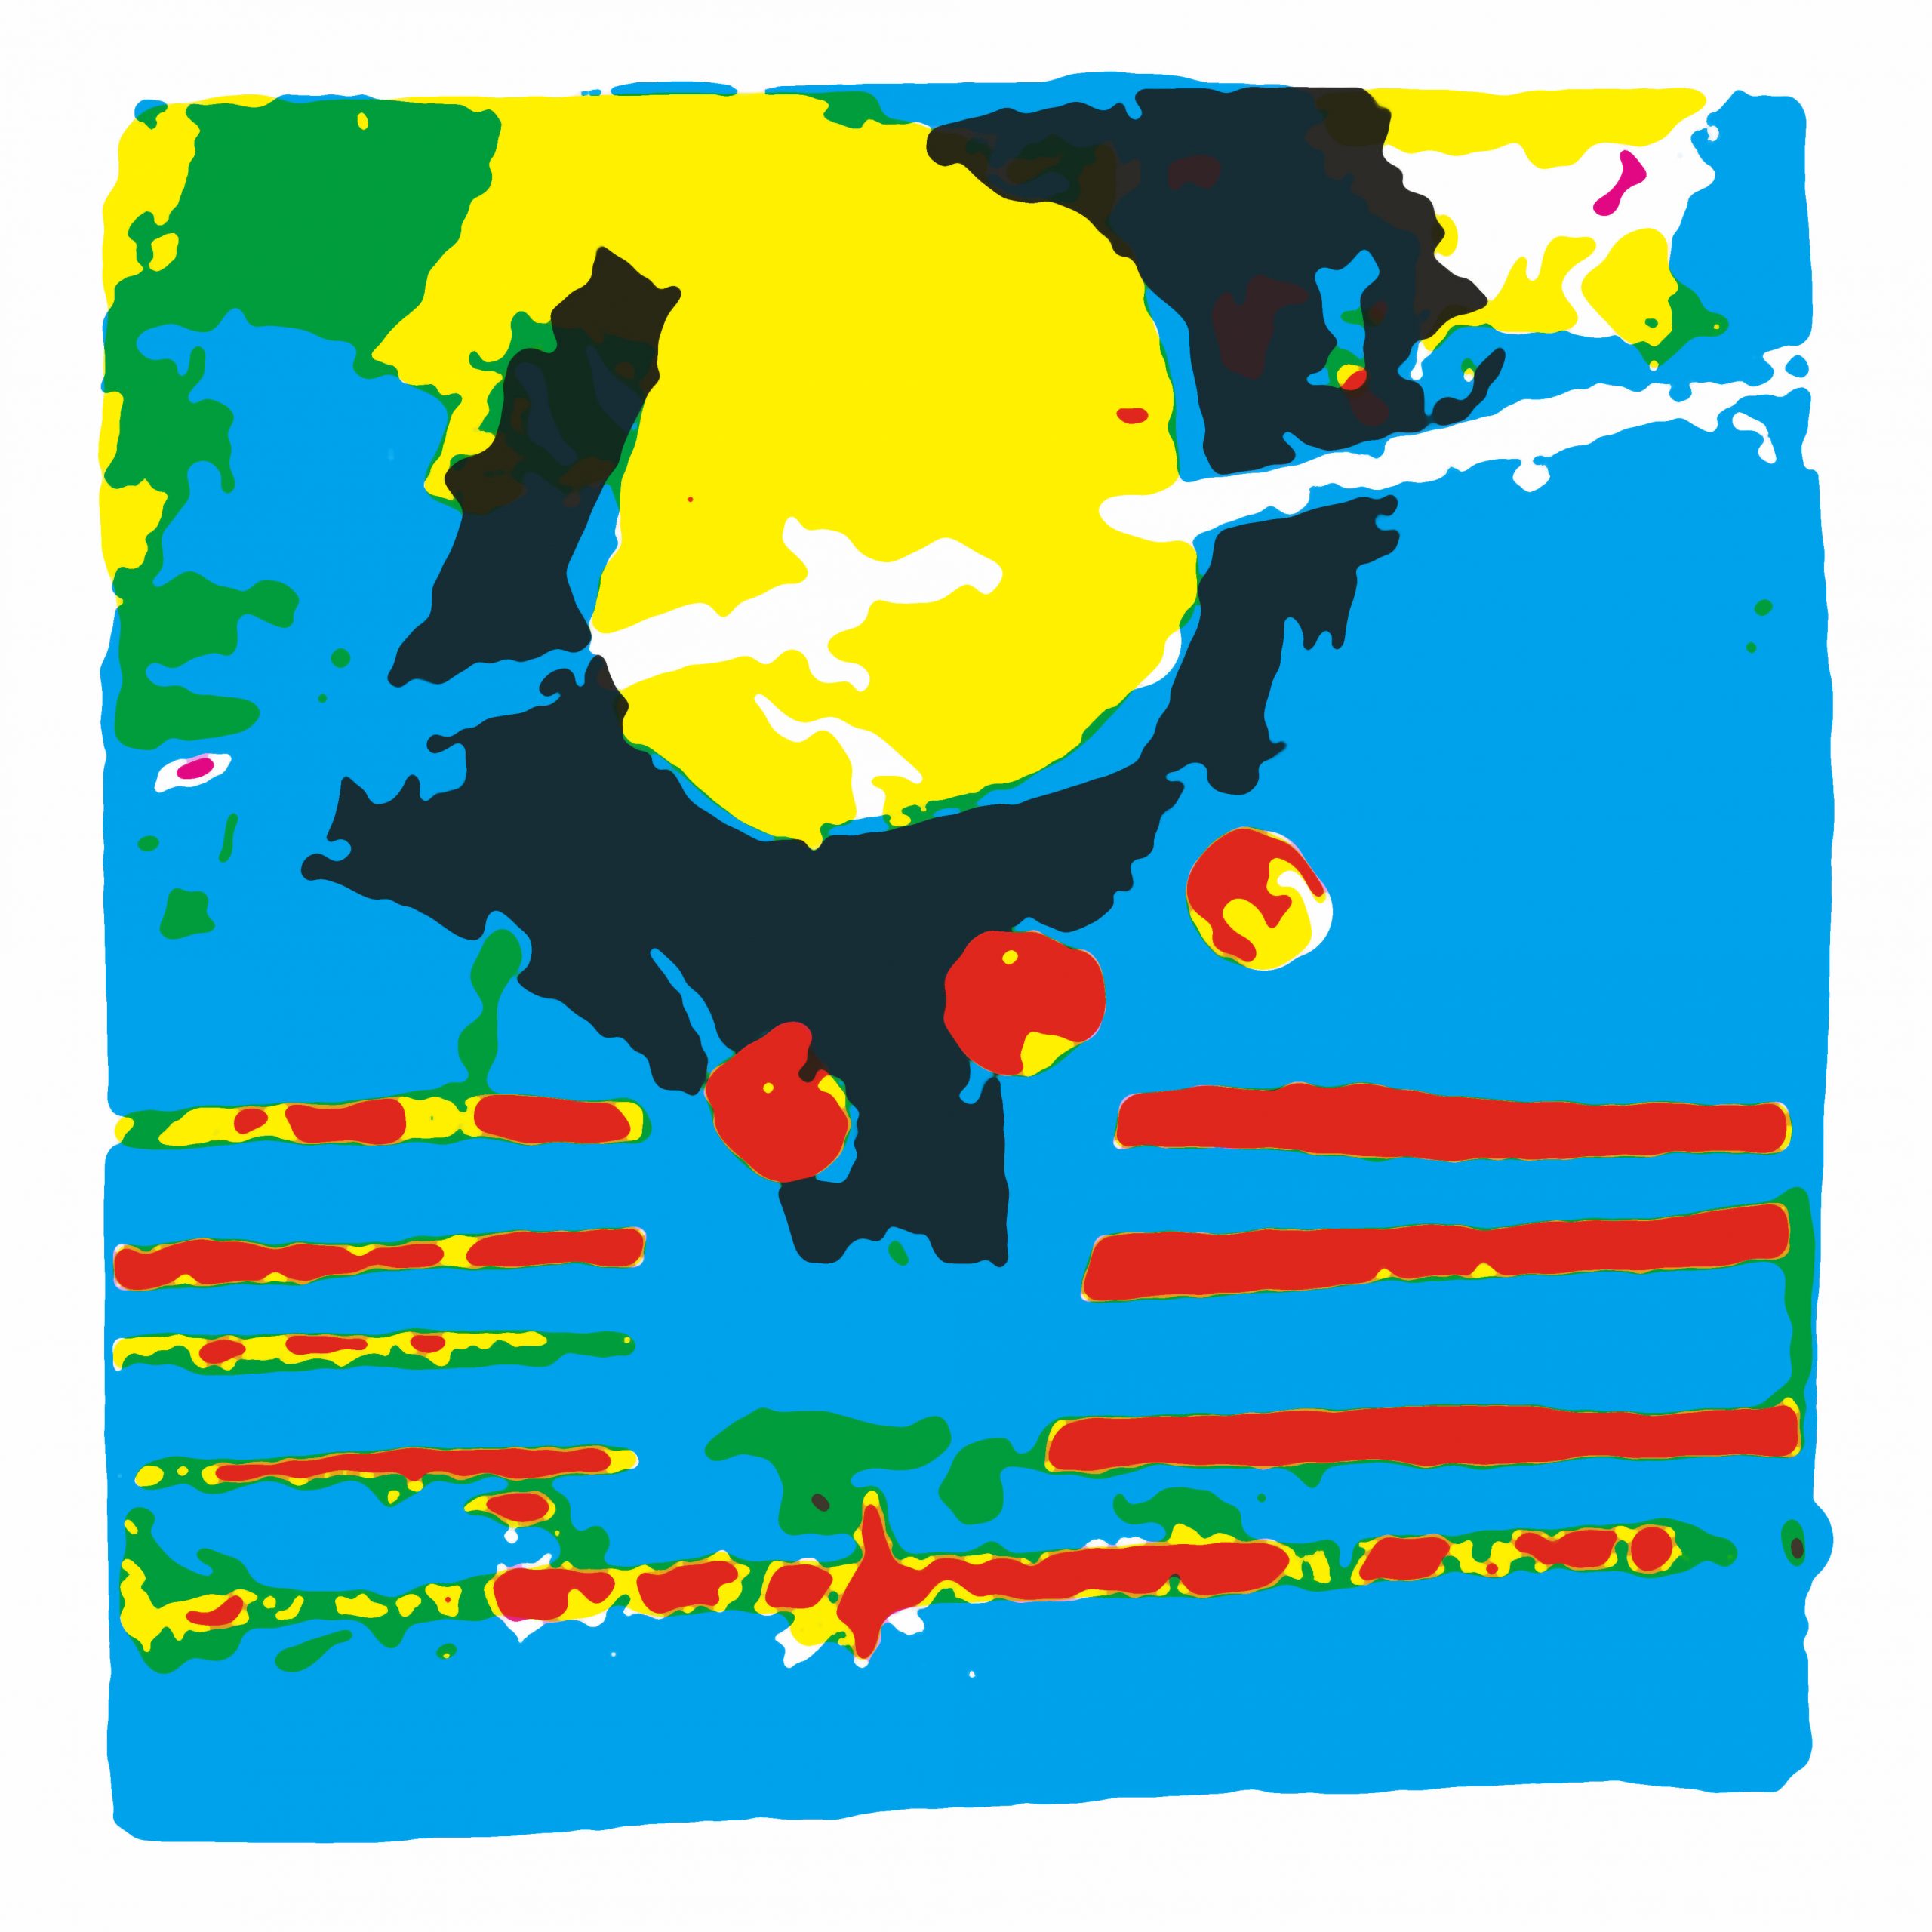
In an extension of the process used to create digital prints, I have now produced some Risograph prints. Even these are not straight reproductions, since process colours (CMYK) are not available for RISO printers. I will cover that process in another post to follow.